

Sanding wood floors can revitalize your home, breathing new life into worn surfaces and uncovering their natural charm. This comprehensive guide outlines the entire process, from preparation to final touches, to help you achieve professional-quality results effortlessly.
A beautifully sanded wood floor not only elevates the aesthetics of a space but also enhances the durability and longevity of the flooring, making it a worthwhile investment. The process brings out the natural beauty of the wood, highlighting its vibrant colors and intricate grain patterns.
Sanding a wood floor is a project that can be undertaken independently with the right tools and preparation. Careful planning and gathering all necessary materials are essential to ensuring a smooth process and successful outcome.
The satisfaction of seeing freshly sanded floors is unparalleled. Beyond their stunning appearance, the sense of achievement from completing the task adds a personal touch to your living space. With thoughtful preparation and effort, wood floor sanding can transform any room and breathe new life into your home.
Understanding the Basics of Wood Floor Sanding
Before diving in, it’s important to understand what wood floor sanding involves. This process smooths the surface by removing old finishes and imperfections, allowing for a fresh start with new coatings. The practice of sanding wood floors is centuries old and remains popular due to its transformative effects.
The essence of wood floor sanding lies in its ability to reset your floors. By stripping away years of wear, scratches, and stains, sanding reveals the wood beneath, offering a clean canvas for new stains and protectors. This is the foundation of wood floor renovation, making it vital to perform this step meticulously. It involves the use of a series of sandpaper grits, each progressively finer, to achieve a smooth, even surface.
Did you know that the way you sand can affect the wood floor’s longevity? The sanding process doesn’t just make your floors look new but also prepares them to better absorb stains and sealants, which are crucial for durability. By thoroughly understanding the impact of each sanding step, you ensure that the final result is not only aesthetically pleasing but also long-lasting and resilient.
Essential Tools and Materials You Will Need
Gathering the right tools and materials is crucial. We’ll explore what you need, including sanders, sandpaper, and safety equipment, to prepare you for a smooth sanding process. A drum sander and an edge sander are typically required to handle different parts of the flooring. Moreover, having a range of sandpapers from coarse to fine grits is essential to achieve the perfect finish.
In addition to sanders and sandpaper, consider safety gear as an indispensable part of your arsenal. Dust masks or respirators protect your lungs from fine particles, while knee pads and ear protection ensure comfort and safety as you work. Additionally, you might need a scraper for any stubborn areas and a vacuum to clean up dust and debris during and after each sanding phase.
Preparing Your Space for Sanding
Proper preparation is key to a successful sanding project. Learn how to clear the area, protect adjacent surfaces, and ensure your space is ready for the task ahead. Begin by removing all furniture, rugs, and any other items from the floor to provide unobstructed access. Using plastic sheeting, seal off doorways and vents to minimize dust spread during the sanding process.
It’s beneficial to review your floors for any loose boards or nails that stick out. Such conditions can not only damage your sanders but also disrupt the uniformity of the sanding. Use a nail punch to set any protruding nails below the surface, ensuring smooth sanding throughout. By prepping your space effectively, you protect your home from mess and your equipment from damage.
Step-by-Step Sanding Techniques
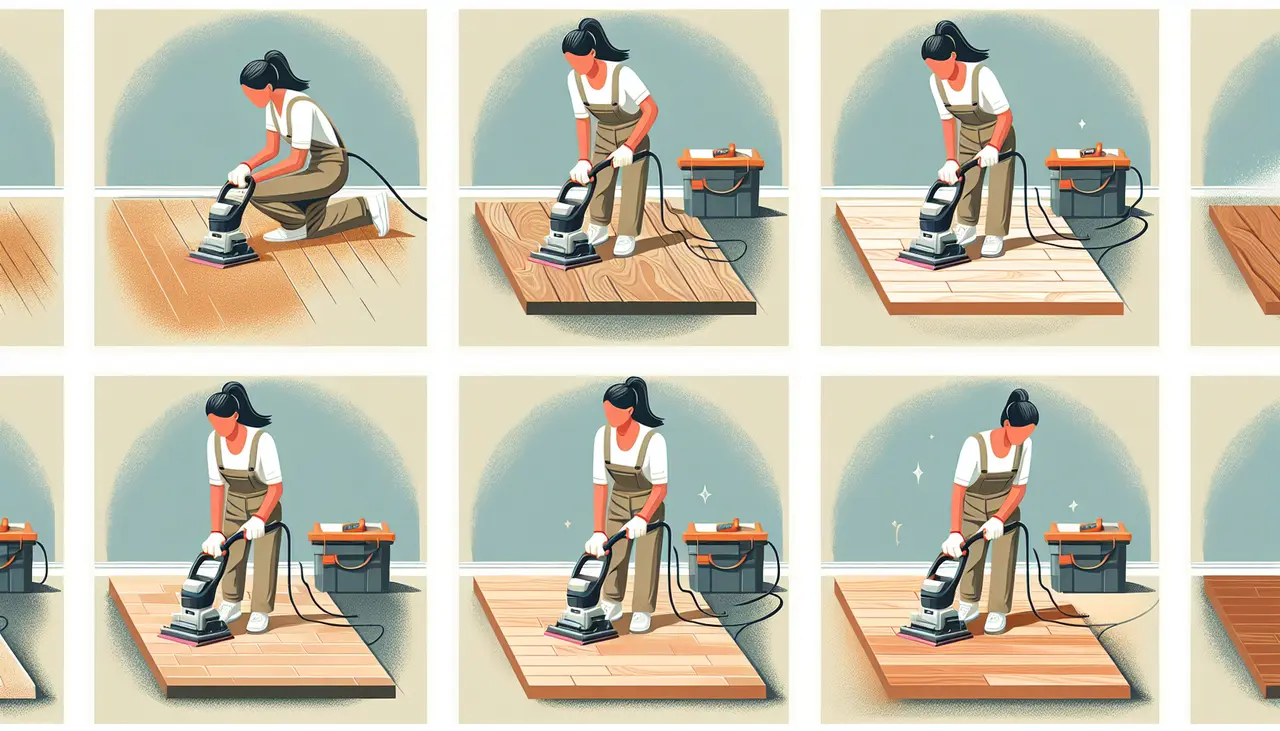
With preparation done, it’s time to start sanding. This section guides you through each stage, from initial rough sanding to the finer, smooth finishes. Begin with a coarse-grit sandpaper to tackle the toughest layers of finish or uneven surfaces. As you progress, shift to medium and then fine grits, removing scratches and refining the surface for a flawless look.
One technique for effective sanding is to move your sander with the wood grain, as going against it can cause unsightly sanding marks. Divide your work area into manageable sections, systematically completing each with controlled, even strokes. This method not only saves time but also ensures no part of the floor is overlooked, resulting in a uniformly sanded floor.
Dealing with Common Sanding Challenges
Sometimes, issues like uneven boards or stains arise during sanding. Here, we delve into troubleshooting common problems and how to manage them effectively. When encountering stains that don’t come out with sanding, consider applying a mild bleaching agent specially formulated for wood, which can often lift stubborn marks without damaging the wood fibers.
For dealing with uneven floors, begin with the coarsest sandpaper grit, making multiple passes over the affected areas until they level out with the rest of the surface. This might require additional time and patience, but the smooth, even result is worth the effort. Ensuring your sander’s weight is evenly distributed can also mitigate the risk of uneven sanding marks.
Choosing and Applying the Perfect Finish
After sanding, choosing the right finish is crucial to both protect and enhance your wood floors. Explore the types of finishes and learn their application for a lasting look. Oil-based polyurethanes offer high durability and a warm, amber hue, while water-based polyurethanes dry faster and maintain the wood’s natural color.
Application is as important as selection. Always apply finish in a well-ventilated space following the grain of the wood with smooth, even strokes to avoid streaking. Each type of finish has its own chemical properties, drying times, and layering techniques, so strictly adhere to the manufacturer’s instructions for the best results. Allow adequate drying between coats for optimal durability.
Bringing New Life to Your Floors
Sanding wood floors may appear challenging, but with proper preparation, tools, and techniques, it becomes an achievable and rewarding task. The process not only enhances the natural beauty of the floors but also adds value to your home. Each sanding pass reveals stunning grain patterns and rich tones, creating a warm and inviting atmosphere in any room.
A thorough sanding job does more than improve appearance; it also protects the floors from wear and tear, ensuring their longevity. Success depends on careful attention to detail, from decluttering the space to selecting the appropriate sandpaper grits. Taking the time to prepare and work methodically ensures a high-quality finish.
Approach the project with patience and dedication, celebrating progress along the way. With effort and creativity, you can transform your wood floors and elevate the beauty of your living space.

