

Taking on a DIY flooring project can be both exciting and intimidating. Whether you’re looking to refresh a room’s look or increase the value of your home, laying your own floor might seem like a daunting task. However, with the right tools, materials, and guidance, it’s entirely possible to achieve a professional finish on your own. In this FAQ, we’ll help you decide if this DIY journey is right for you and guide you through the essential steps.
When you’re considering a DIY flooring project, it’s not just about slapping down some boards and calling it a day. This is a creative process that transforms your space, making it uniquely yours! You’ll feel a sense of pride as you see your vision come to life, step by step.
Before diving into the actual work, it’s a good idea to gather inspiration and think about what you really want. Browse through design magazines, visit showrooms, or even check out online platforms like Pinterest for ideas. You’ll soon realize that DIY flooring isn’t just a task; it’s an opportunity for self-expression and home enhancement.
Don’t forget to keep a positive mindset throughout the process! Mistakes might happen, but that’s part of learning. Embrace the chance to experiment and discover what works best for you and your home. Remember, every expert was once a beginner. With patience and enthusiasm, you’ll find joy in creating your new floor.
Make sure to celebrate your successes along the way, no matter how small. Did you manage to cut your first plank perfectly? Give yourself a high five! Each achievement will keep you motivated to finish the project and enjoy your beautiful new space.
So, are you ready to roll up your sleeves and dive into your DIY flooring adventure? With passion, preparation, and this guide by your side, you’ll be well on your way to transforming your home into a space that truly reflects you. Happy flooring!
Assess Your Skills and Knowledge
Before starting, assess your current skills and knowledge about flooring. Have you done any home improvement projects before? Reading guides, watching tutorials, or talking to friends with experience can provide valuable insights.
Take a moment to consider your experience with tools. Being comfortable with basic tools is essential for successful DIY flooring. If you’re unfamiliar with them, consider starting with some simpler tasks to build confidence before tackling a full floor installation.
Understanding the complexity of the project is crucial. While certain flooring types may appear straightforward, they can require intricate steps. Laminates might be easier for a first timer, whereas hardwood might present a steeper learning curve due to its precision in cuts and fitting.
Select the Right Type of Flooring
Choosing the right type of flooring is crucial. Consider factors like durability, cost, and the room’s purpose. Popular DIY options include laminate, vinyl, and engineered wood, which are generally easier for beginners.
Consider the lifestyle factors of your household. Do you have pets or children? Durable options like vinyl and laminate might be particularly suited to high-traffic areas. Also, remember to check if the flooring is easy to clean and maintain over time.
Review the aesthetic goals you have for the space. Different flooring materials offer various looks and finishes, that can dramatically enhance or subtly complete a room’s design. Conduct some research to see how each flooring type might fit your vision.
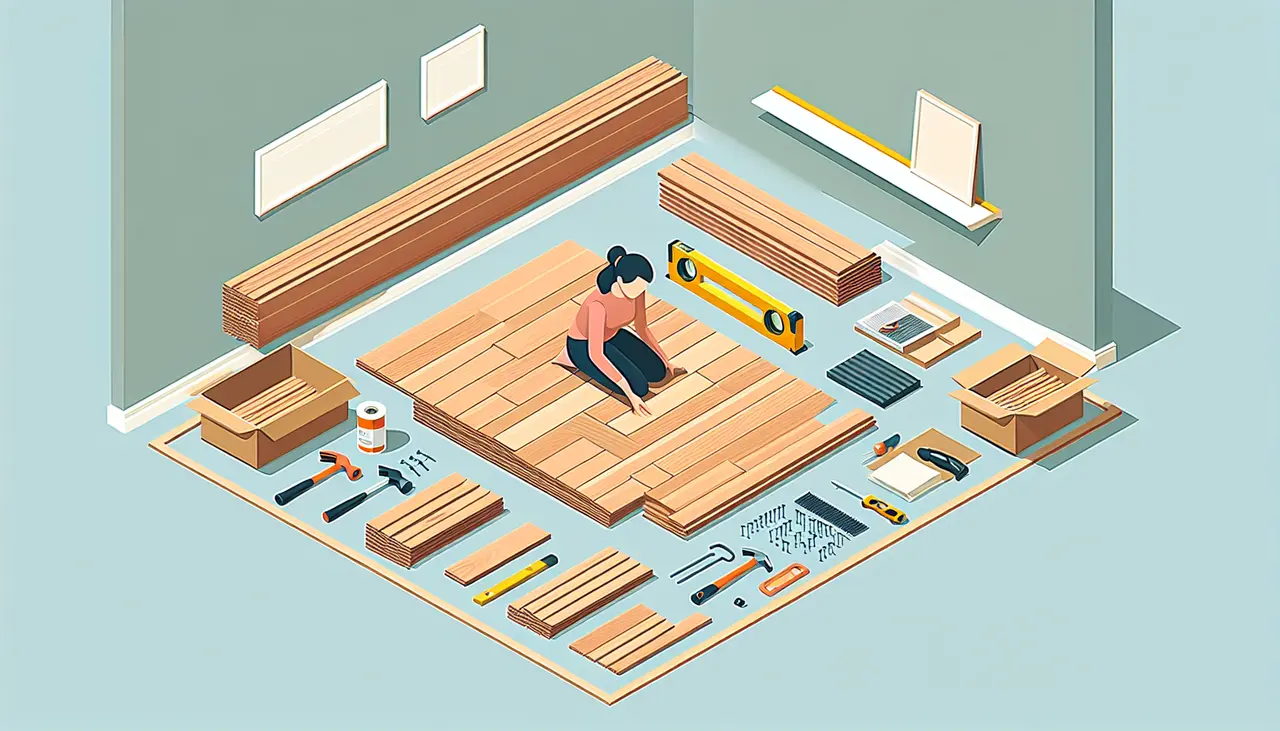
Gather the Necessary Tools and Materials
Make a list of materials and tools needed for your project. This might include a tape measure, utility knife, adhesive, spacers, and a flooring cutter. Having everything on hand will streamline the process.
Investing in quality tools and materials can make a huge difference. Opt for a high-quality saw, a sturdy measuring tape, and reliable adhesive, as these tools will directly affect the ease and outcome of your installation.
Don’t forget the smaller accessories like knee pads and gloves. Comfort while working is crucial and small investments in protective gear can prevent undue strain or injury during your project.
Prepare Your Space
Clear the area where you’ll be installing your floor. Remove any old flooring, furniture, and take time to repair any subfloor issues. Proper preparation ensures a smoother installation process.
Consider the current condition of your subfloor. If you spot any cracks or uneven surfaces, fix these issues beforehand to ensure the best results. Addressing these problems early can save you considerable work and potential problems down the line.
Ensure the space is free from any moisture or dampness, as these can affect many types of flooring adversely. Employ moisture barriers where necessary to protect your flooring long-term.
Follow Installation Instructions Carefully
Each type of flooring has specific installation steps. Follow the manufacturer’s instructions carefully. Taking your time during this phase will lead to better results and fewer mistakes.
Ensure that you understand the entire process before beginning installation. Some flooring requires acclimation time, while others need specific conditions to be installed or set properly. Preparation is key.
Check which direction the flooring should be laid. Often, it’s beneficial to lay flooring parallel to the room’s longest wall or windows where light enters, enhancing the room’s appearance.
Finish and Inspect
Once the floor is installed, finish the job by securing moldings and trim. Inspect your work for any gaps, uneven sections, or issues that need addressing, ensuring your floor looks professional.
Conduct a thorough inspection of your work. Pay special attention to the seams and edges of the flooring; these areas often need extra attention to detail and might require adjustments to look seamless.
Clean the newly laid floor carefully after installation. This not only helps to remove any dust and debris but also allows you to see your work clearly, helping you spot any areas that might need touch-ups.
Ready to Transform Your Space?
Embarking on a DIY flooring project can be fulfilling, offering both personal satisfaction and a chance to enhance your home’s appearance. With detailed planning and the right equipment, you can successfully install your own flooring. Each step builds on the previous one, so take your time to achieve a result to be proud of. Also, keep in mind that if your DIY Flooring project gets to be too much for you, you can always call on us to help you with finishing your home or business project, ElmWood Flooring Remodeling Co. is here to help. (773)209-7499

